
Your little concrete pad is just not cutting it anymore.
You need extra space to hang out in the backyard this summer. I get it; you might be unsure of how to start this project and whether or not you can handle it yourself.
We’re here to help.
While some projects will need a professional to complete, you can take on a small backyard patio by yourself and feel confident doing so by following five easy steps.
STEP 2
PREPARING FOR YOUR PROJECT
The preparation of a space for a paver patio is often overlooked. If you don’t prepare the space properly, you'll create problems for yourself down the road.
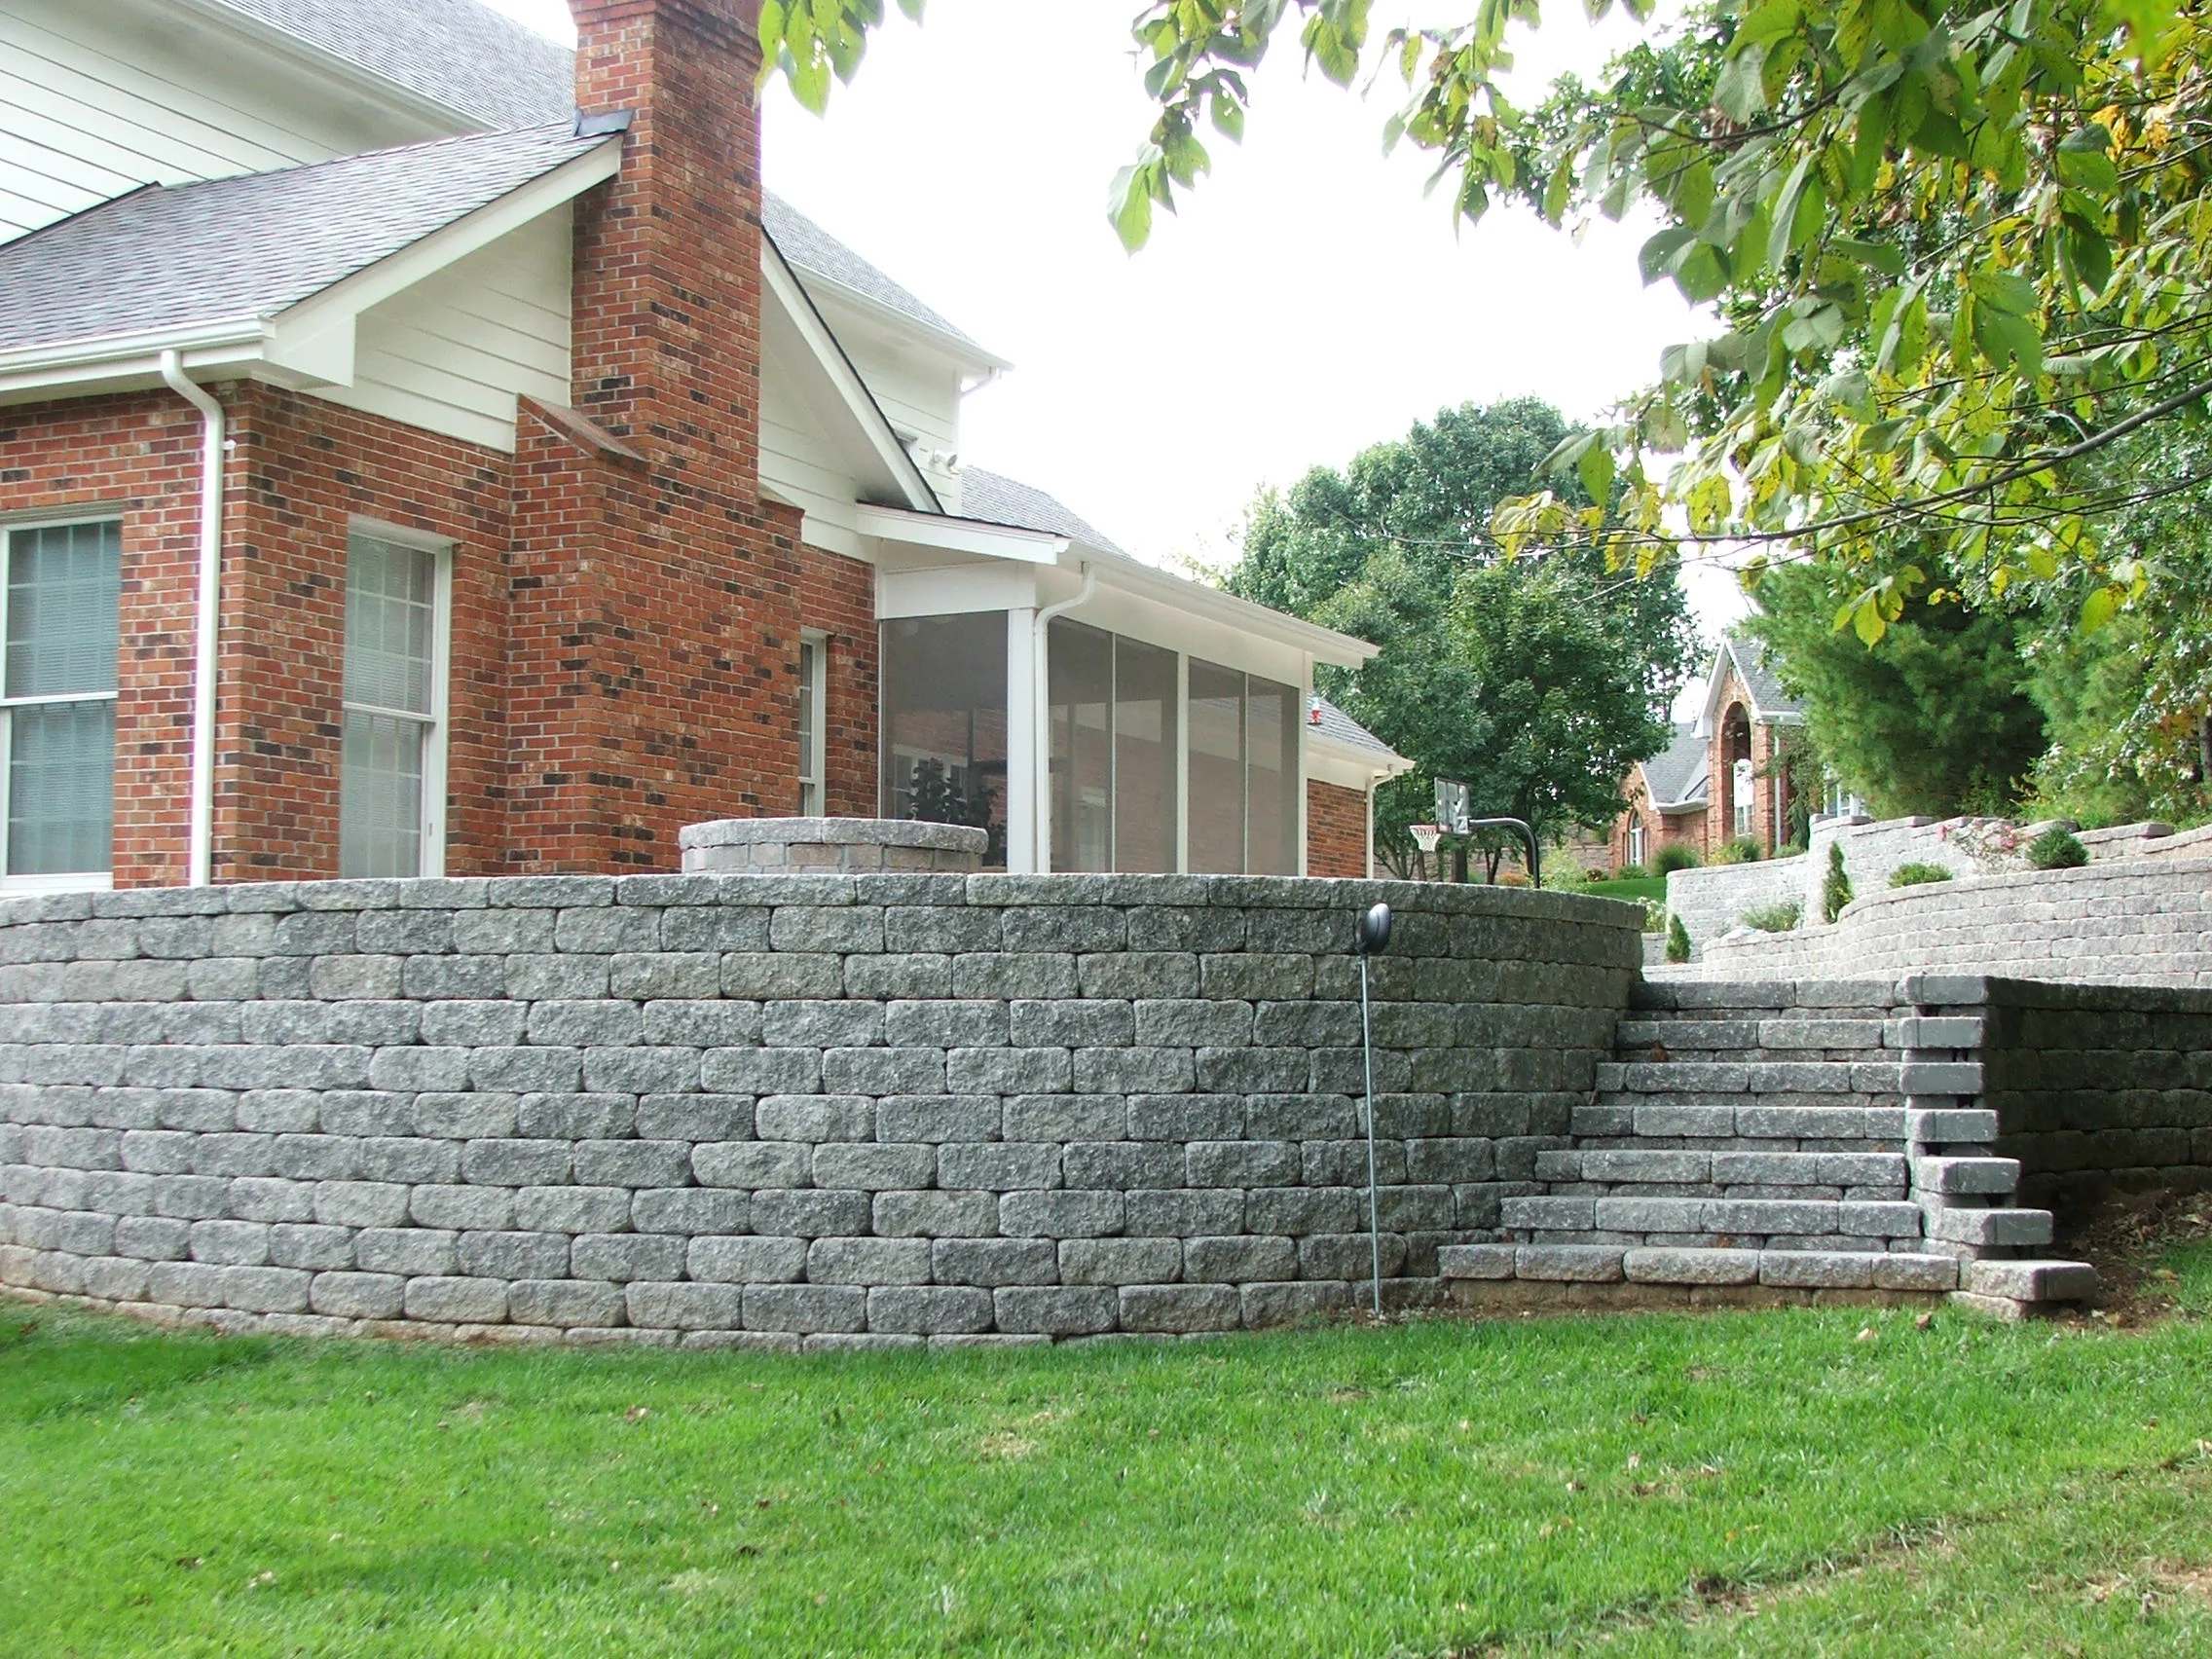
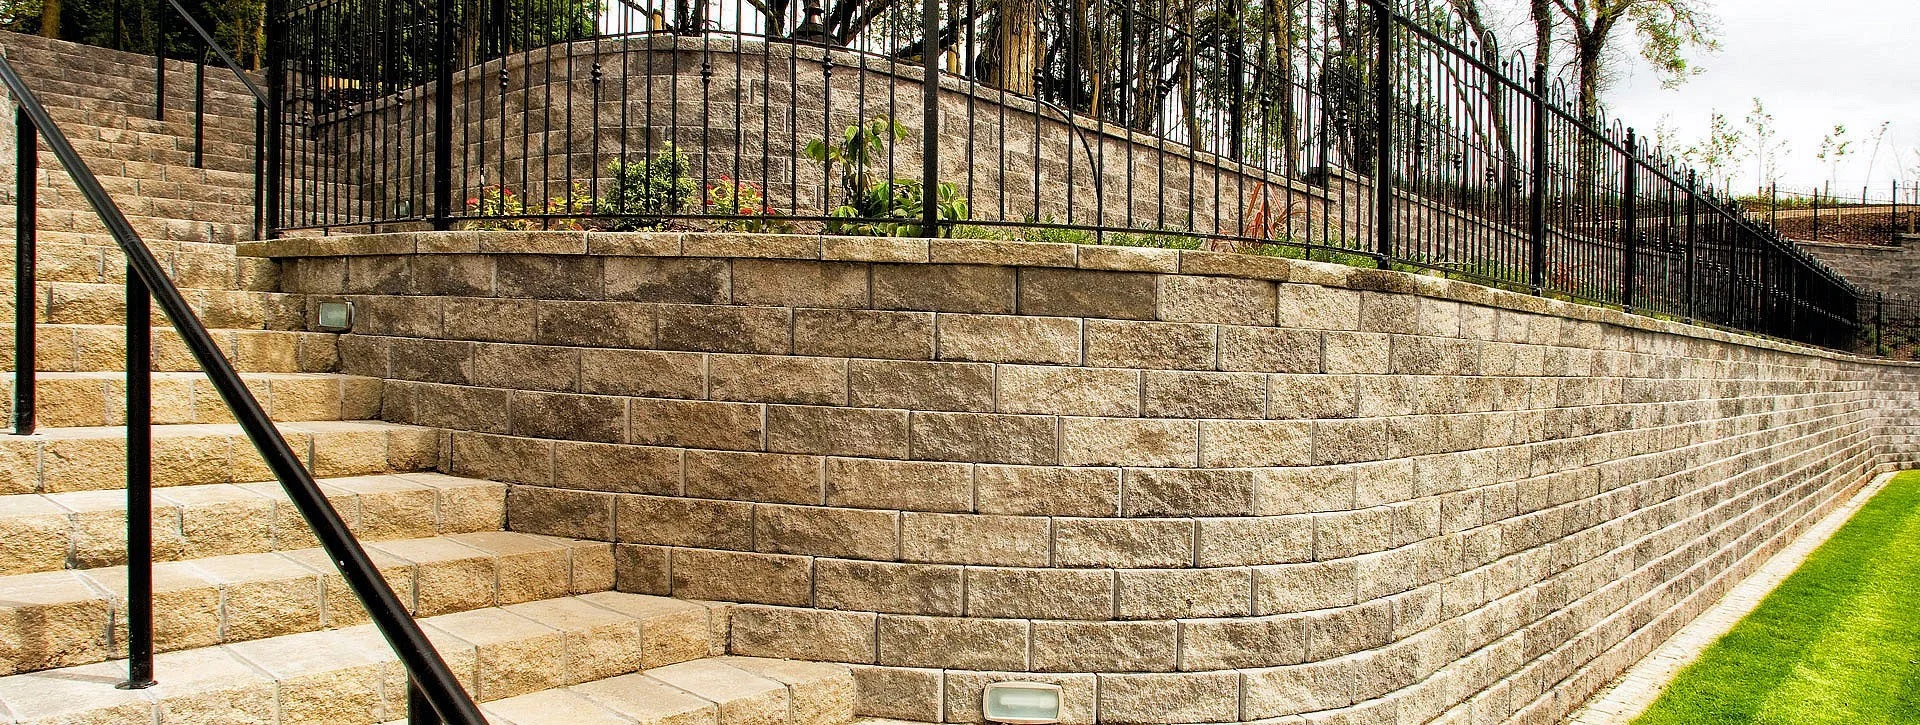
Measure down 5" from where your patio surface will be for the foundation, and excavate the area. You may need a wall around your patio, or a portion of your patio, if it is above the level of the ground.
It's time to get your products! Check out our product calculators to find out how much you need, or bring us your measurements and we'll be happy to calculate this for you. We can deliver everything to you, or you may be able to take it home on the back of your pickup truck.
STEP 1
PLANNING & MEASURING
Once you've decided on your patio design, measuring your space will help give you a good idea of what your projects timeline and cost will look like. This will reassure you that you won't be stuck in the middle of a project that is dragging out for weeks.
First, measure the length and width of the area and identify where you want the finished level of the patio to be. Take note of the current grade of the area, obstacles in the way (like trees or roots), and access to the area to deliver materials.
Once you’ve completed this, bring your measurements and notes to us and we will be gladly help you calculate the amount of materials needed for your project.

STEP 3
INSTALLING THE BASE
Now that your area is all properly prepped, it's time to lay your foundation! This is the most important part of your patio, so be sure to take your time and do it correctly.
First, you'll need to lay down 4" of crusher run.
Use a string line to guide you and keep your foundation even and level. Once you have a complete, even 4" layer of crusher run, you'll need to tamp it down. Your compacted layer should be about 2" thick.
The next layer is 1" of granite fines, to give you a smooth, flat surface to work with.
Place PVC pipe along parallel sides of the patio and lay a 2x4 on top of them level with where the bottom of the pavers should be. Drag the 2 by 4 across the area to smooth and level out your granite fines. Once leveled, do not walk on the granite fines. You’ll know this step is done when your granite fines are a flat, undisturbed surface with no low spots. Make sure to watch your grade and your patio has a .5” of slope per 10’.
Need help with this step? We can help, just give our team a call or send us an email and we'll be happy to walk you through this.
STEP 4
INSTALLING YOUR PAVERS
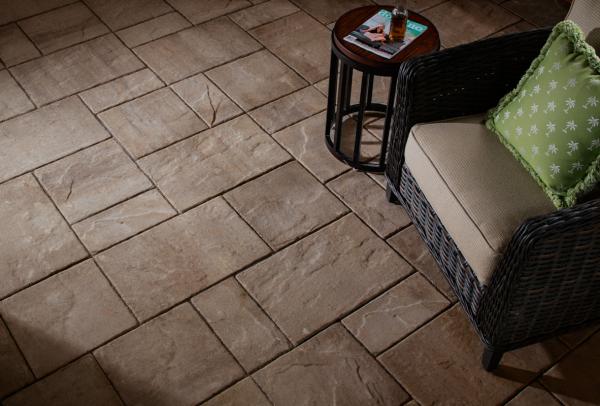
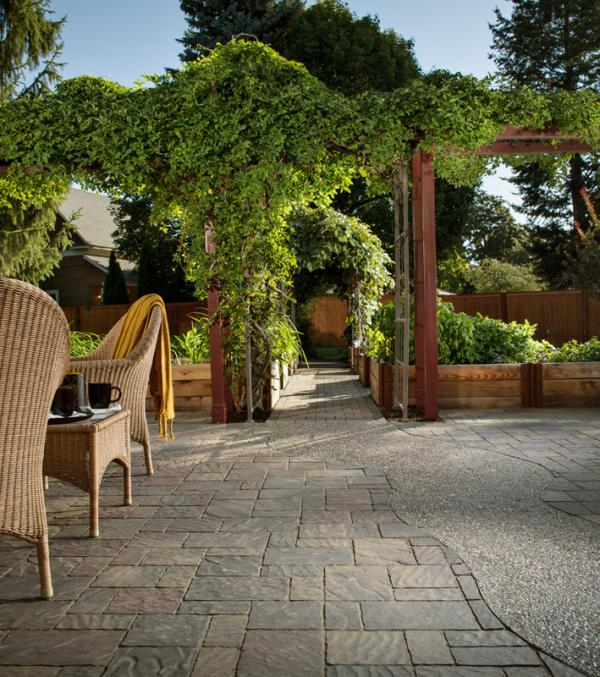
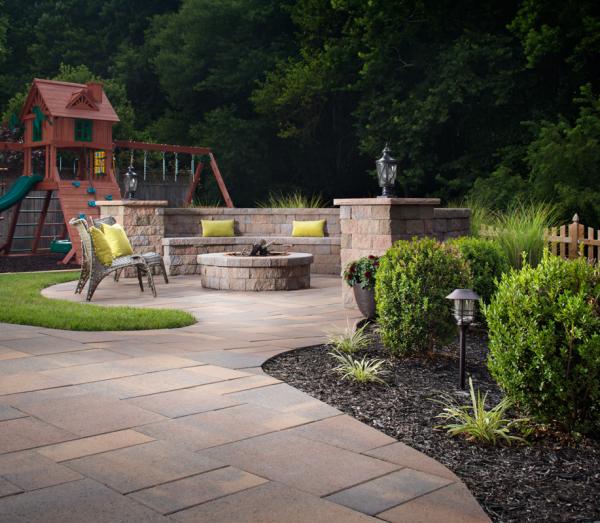
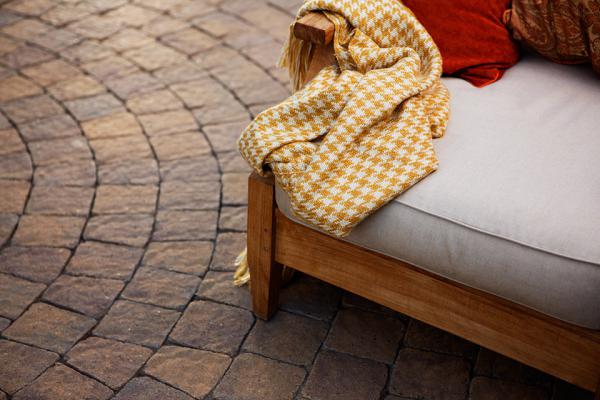
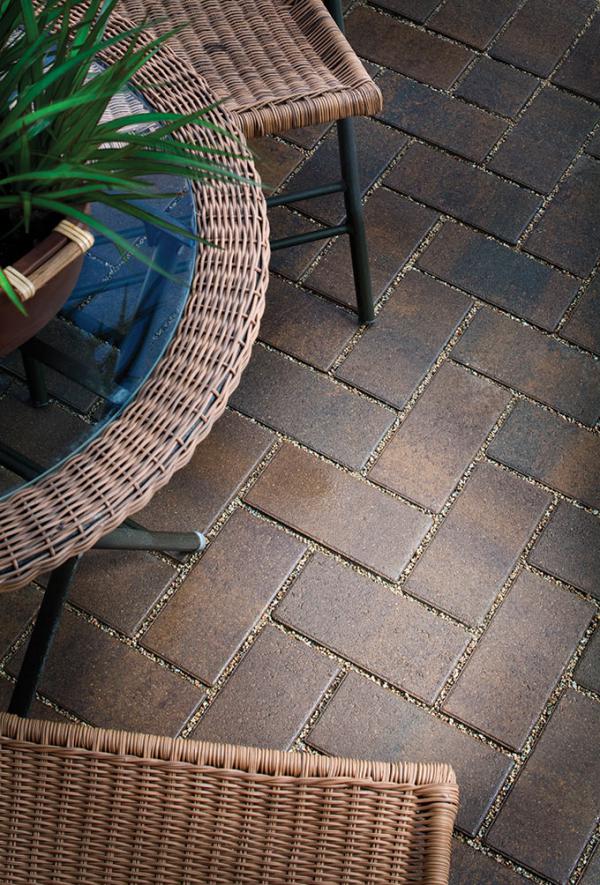
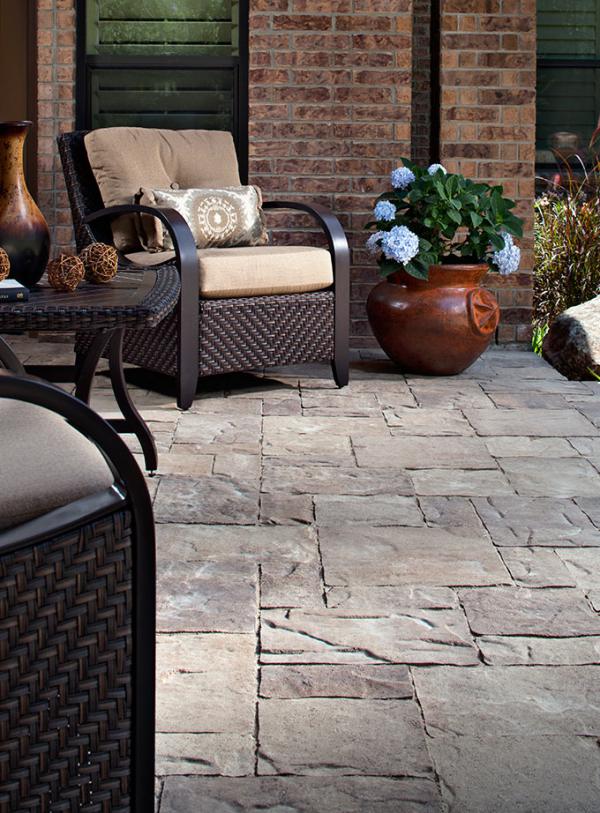
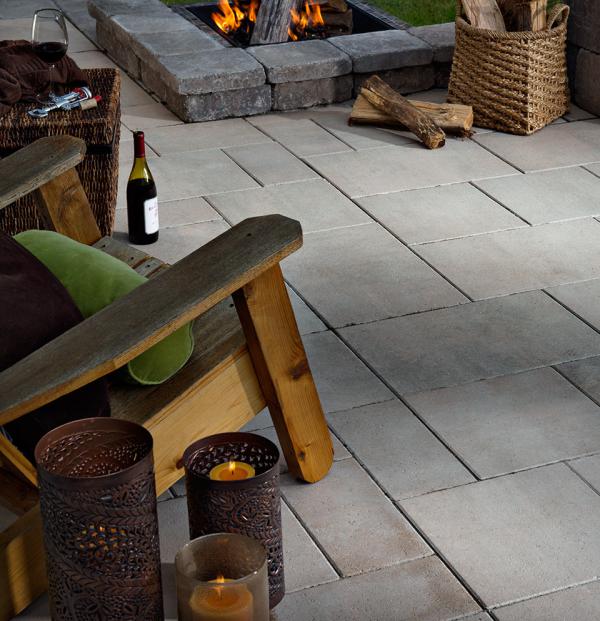
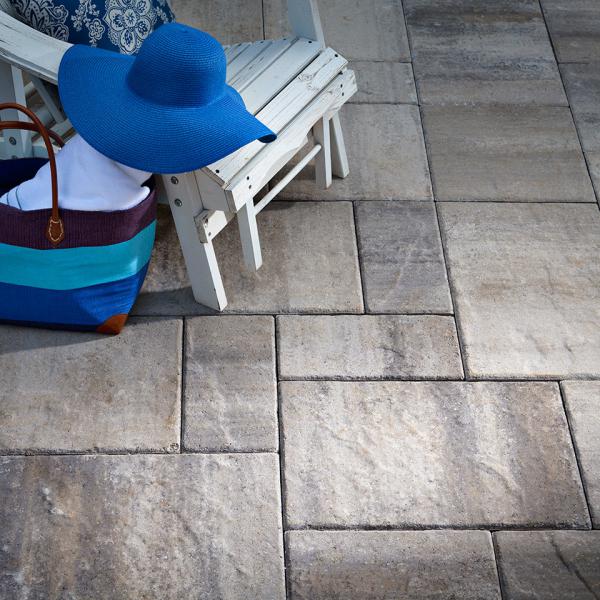
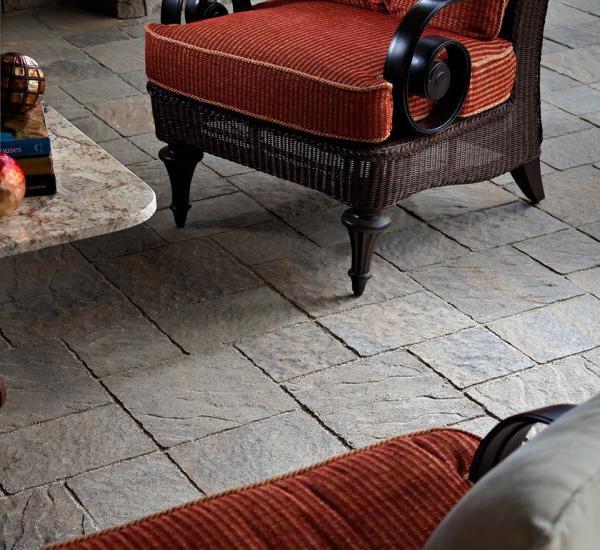
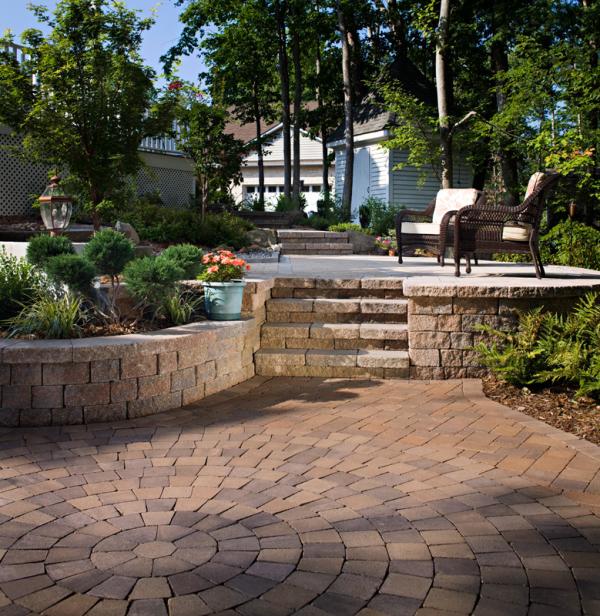
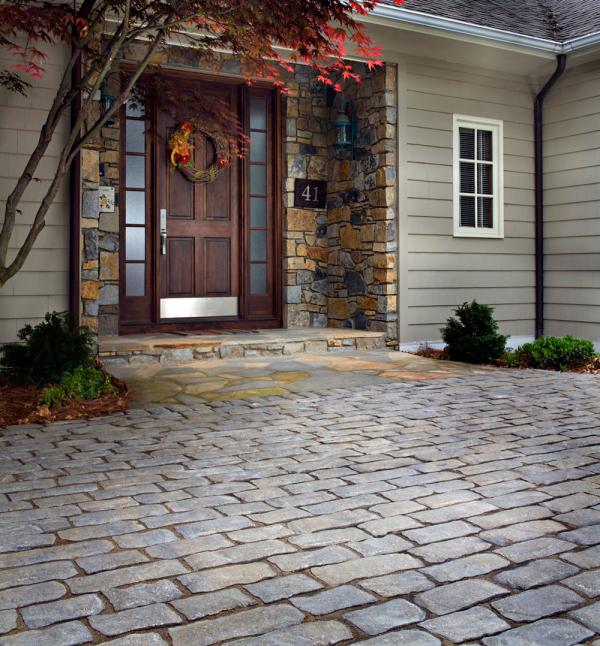
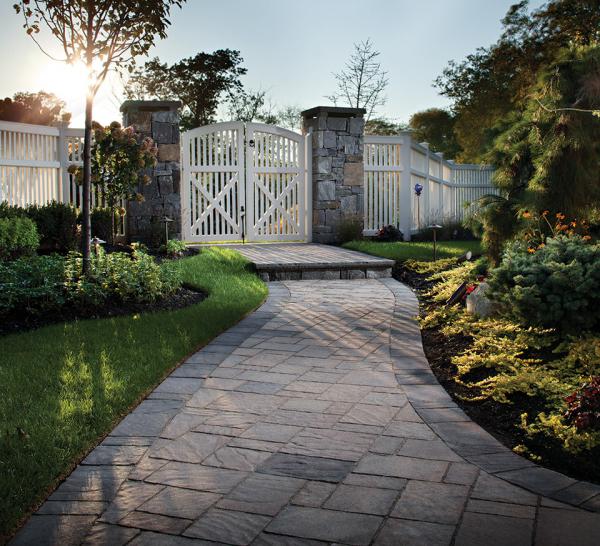
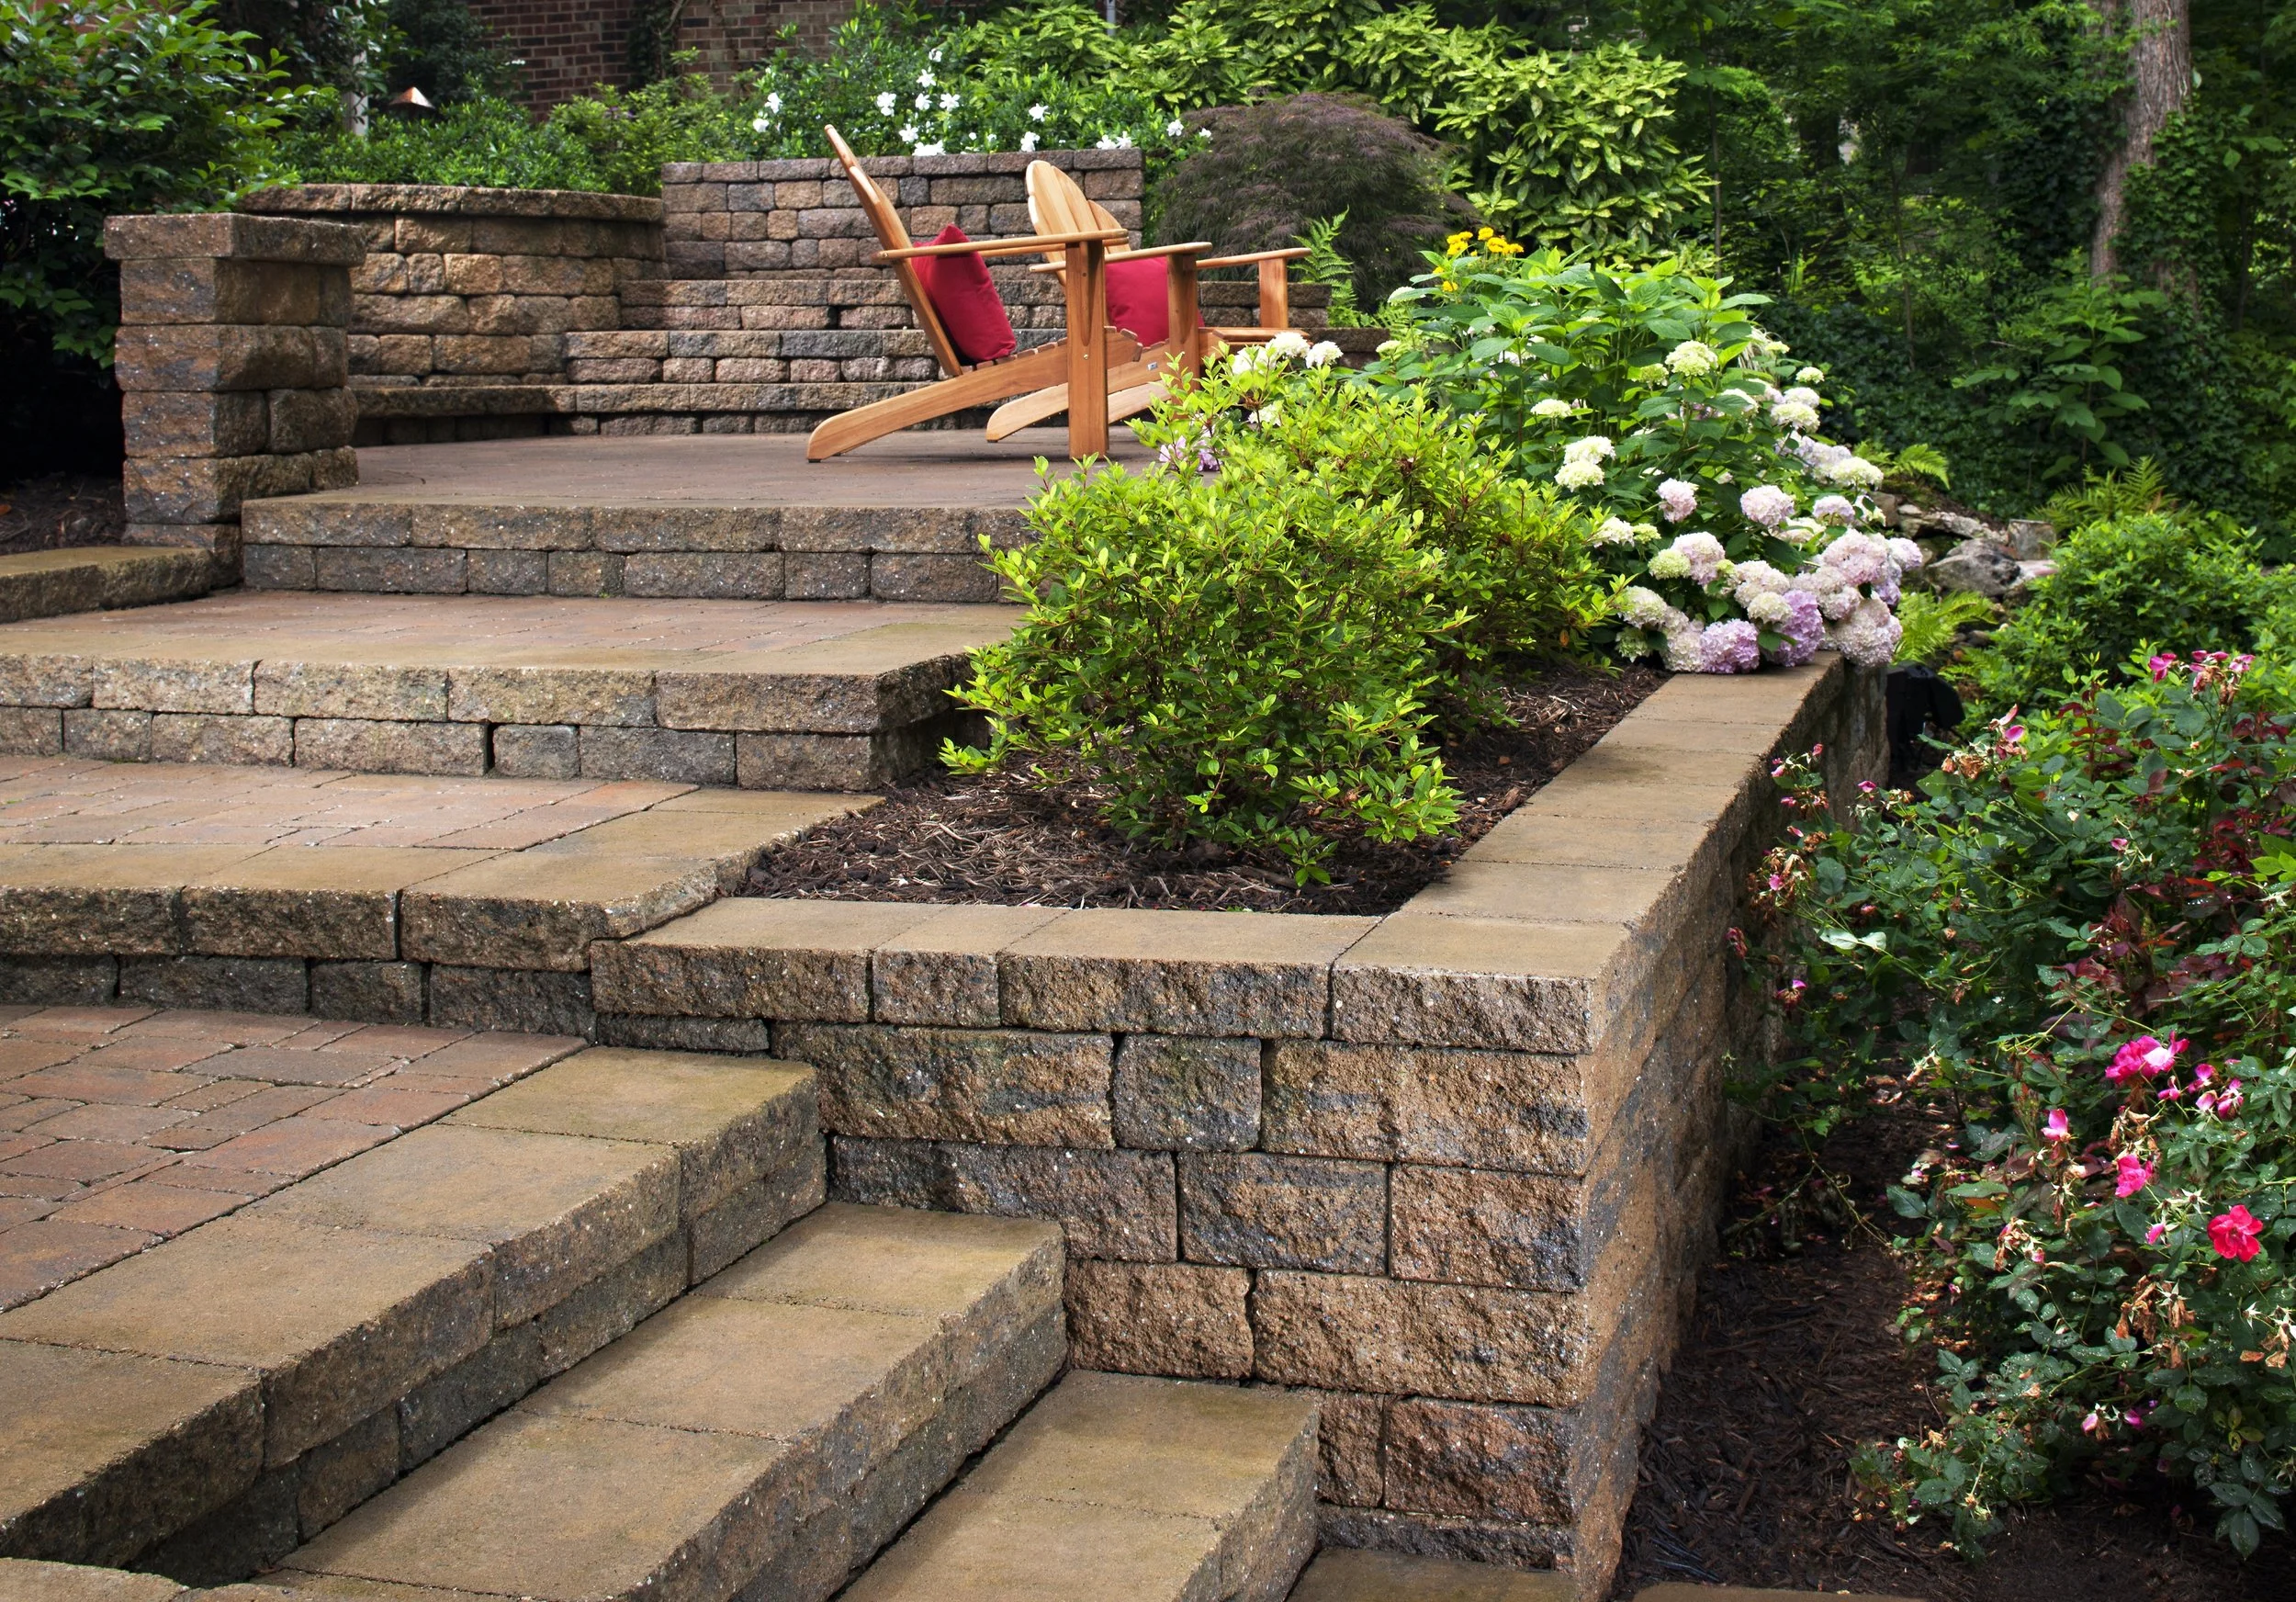
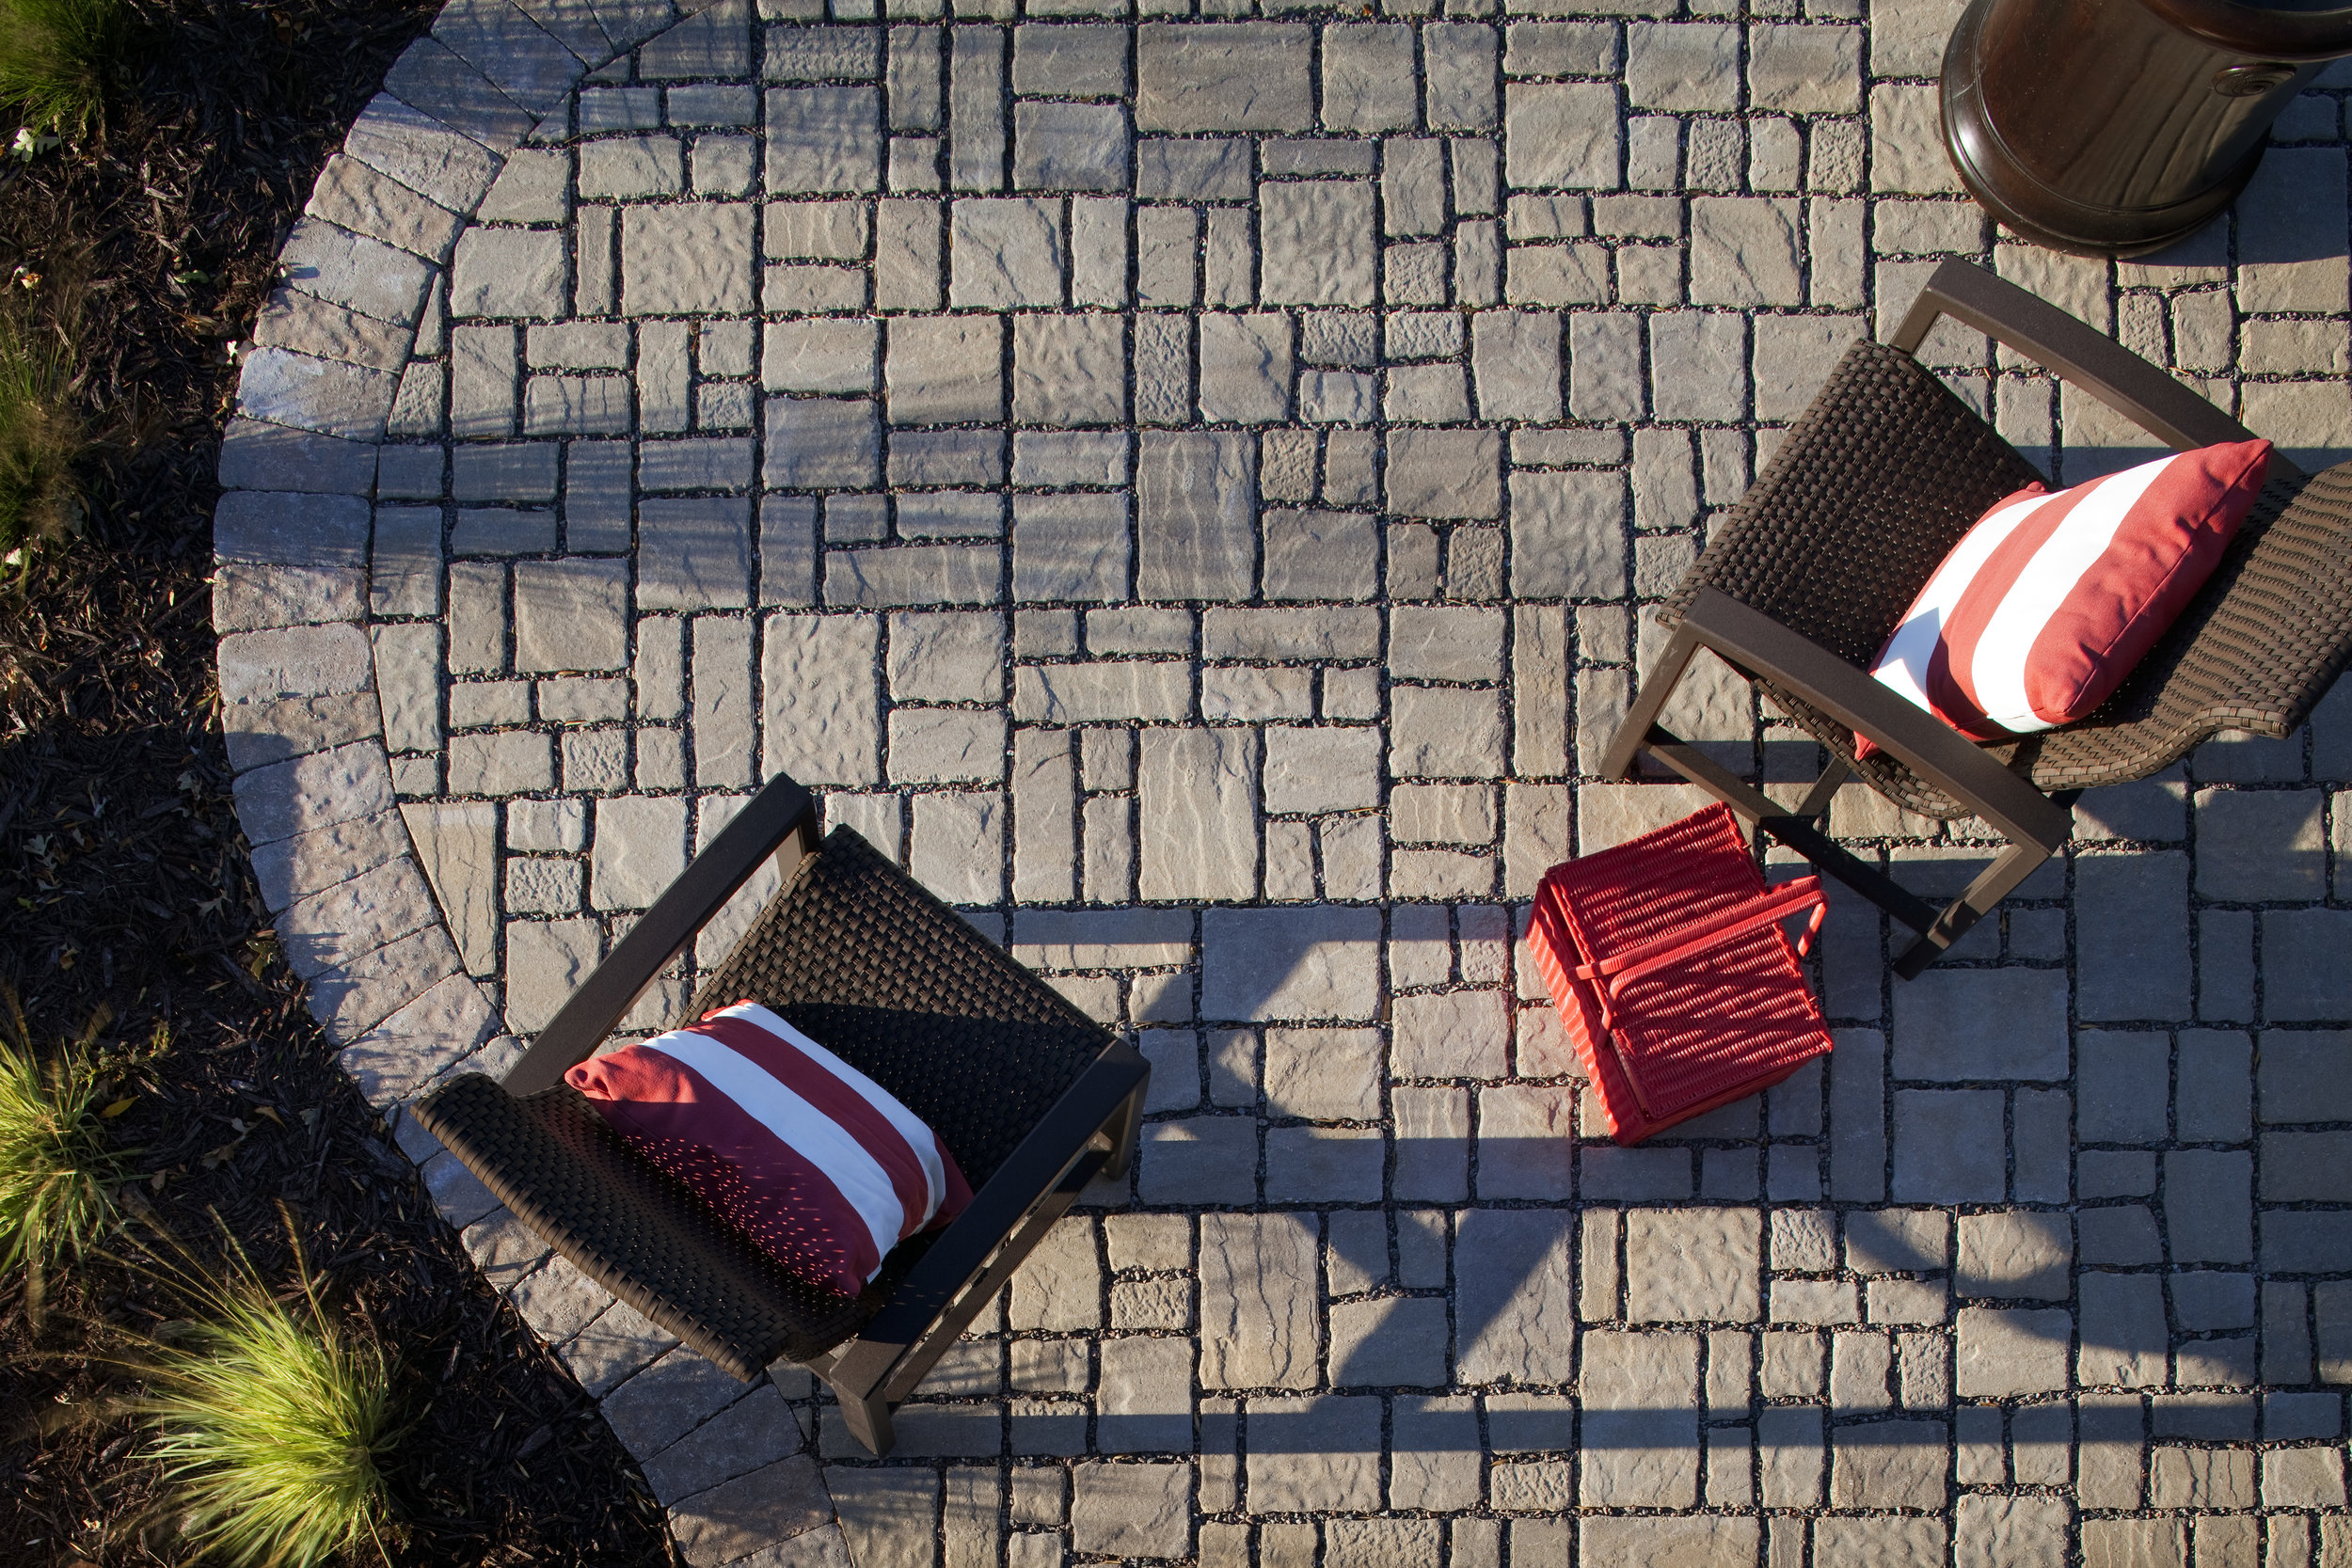
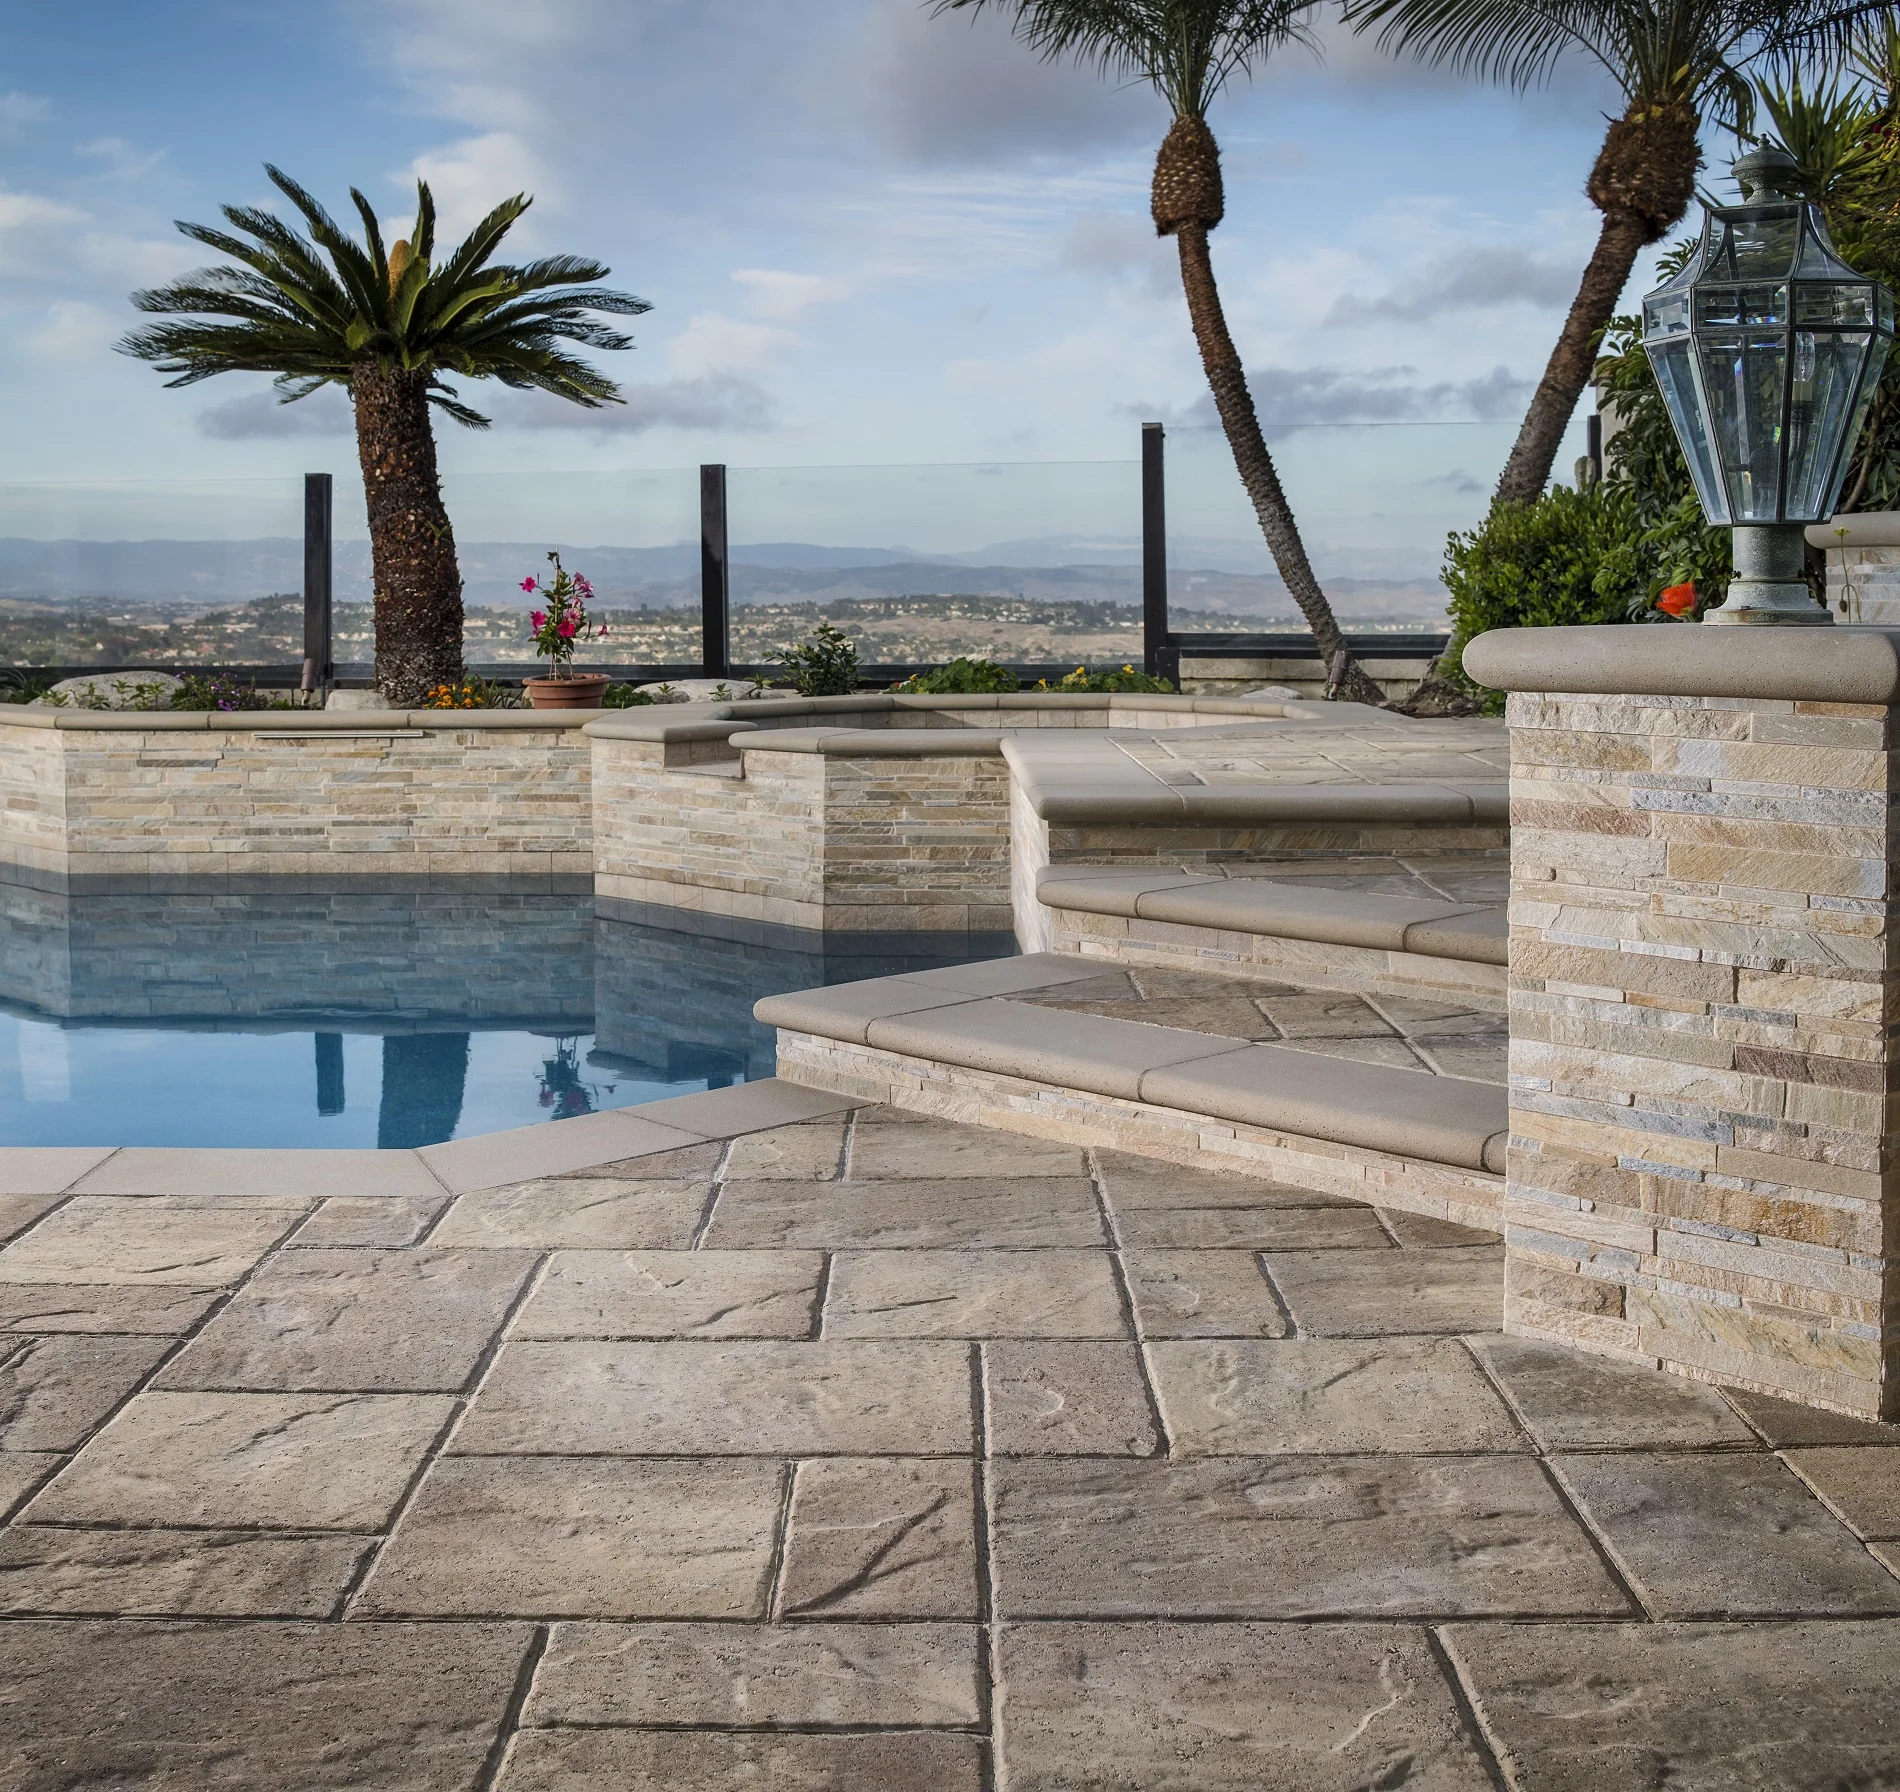
So, you've dug the area. You've done the proper preparation, and you've got your foundation. You're almost there! Now, it's time to put down the pavers for your patio. Each style paver has different design styles and patterns that you can use. Decide on a pattern before you start laying them down. Check out these pictures for inspiration.
Start by setting out a piece of plastic paver edging as a guide on one end, securing it into the sand using metal spikes. Make sure you have a good corner with a true angle to start laying the pavers. This will keep your lines straight as you continue putting down pavers so you don't end up with a crooked patio.You should be placing the first few pavers from outside of the patio over the edging. This keeps you off of the leveled granite sand you worked so hard to perfect. You can kneel on the installed pavers along the outside of the patio to work further and further inward.Periodically, check that your pavers are lining up and correct them if needed. Work to the outer edges of the patio and then make cuts where necessary.
STEP 5
FINISHING TOUCHES
You’re almost done!
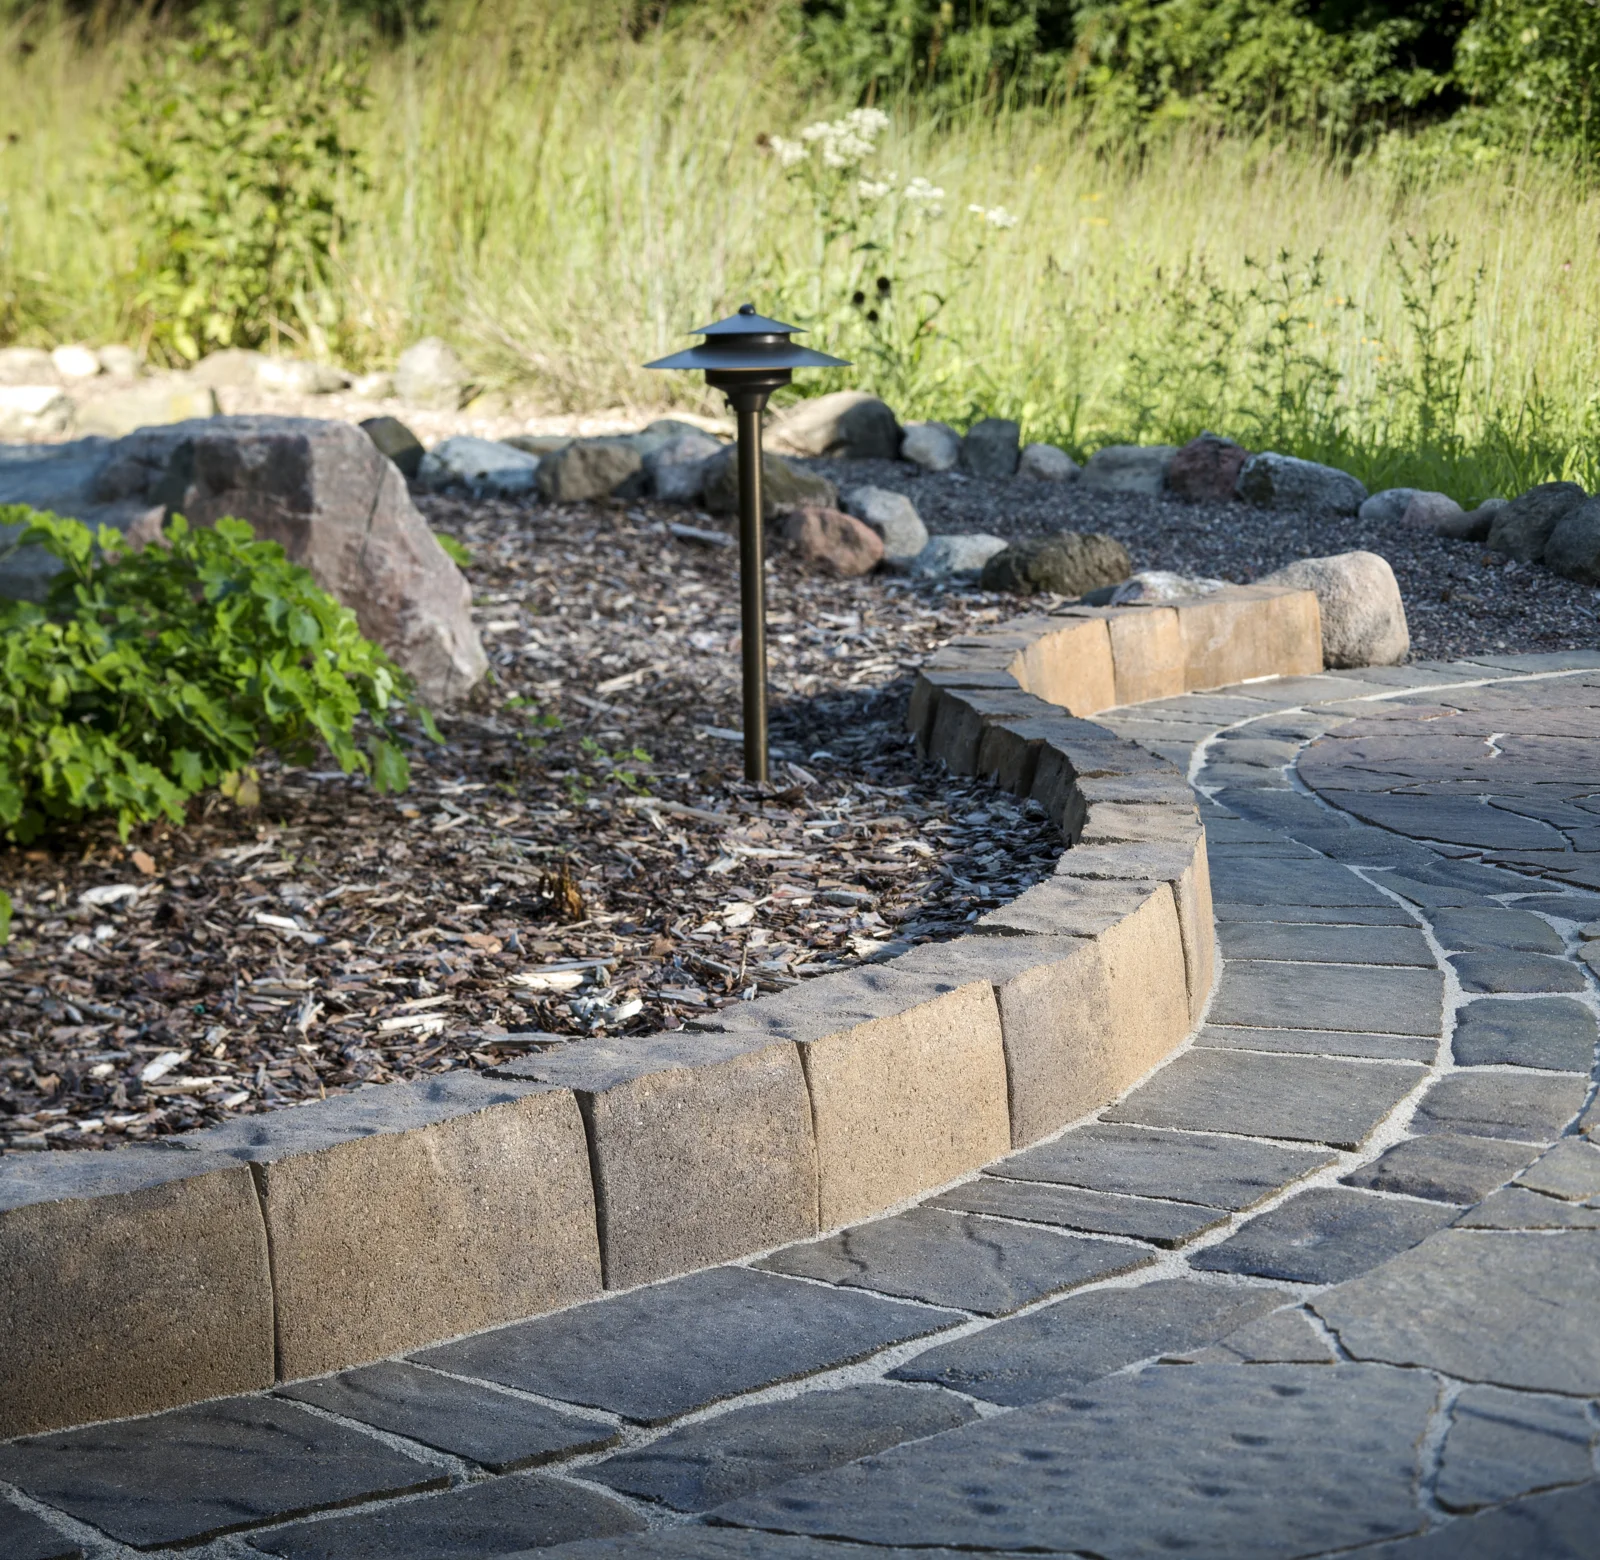
Secure your exposed edges with more plastic edging and make sure your patio is secured and fits tightly together. Spread Gator Maxx (paver joint sand) over the patio and sweep it into the joints with a push broom, working the material well into the joints.
Now that you’ve laid out all the pavers and installed your polymeric sand it’s time to run the gas powered plate compactor back over the patio to secure it all in place. This will push the pavers into the granite fines and help settle your polymeric sand. Follow directions on the bag of polymeric sand and water the material as directed.
Congratulations, you’re finished!
Now sit back and enjoy the backyard season.
Cheers!
Alec
PS. If you're still unsure about your paver project, send an email to me or my team at sales@luxurylandscape.com. We’re glad to walk you through all the steps in more detail.
Check out our pavers!


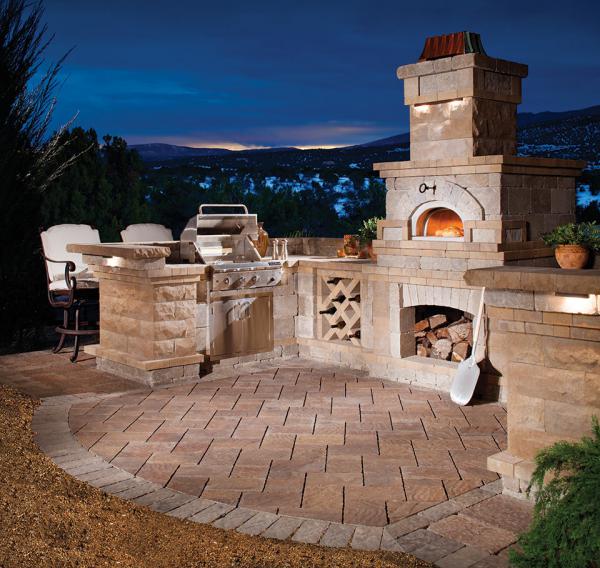
Make the outdoors a little cozier with Belgard's collection of modular pre-built outdoor kitchens and fire features.